Tractor from scrap yard finds.
Posted: Tue May 04, 2010 11:56 pm
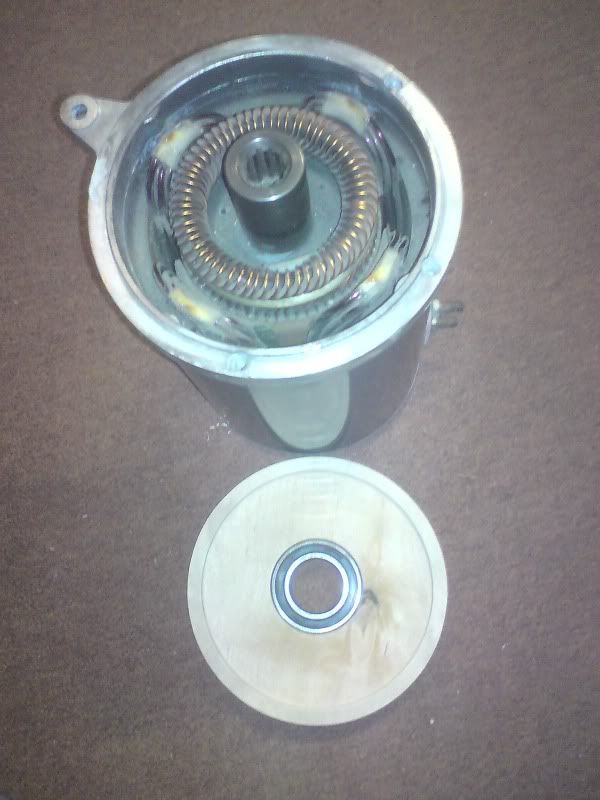
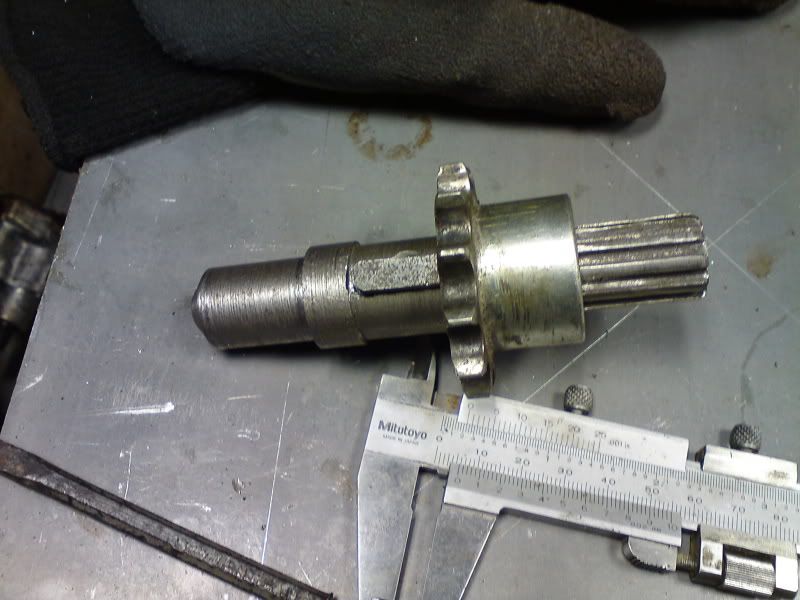
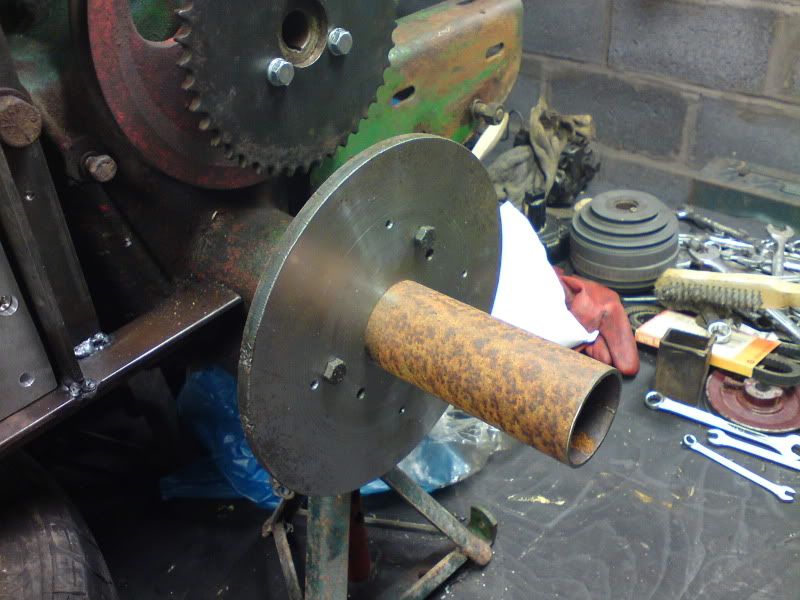
I was gifted one of these.
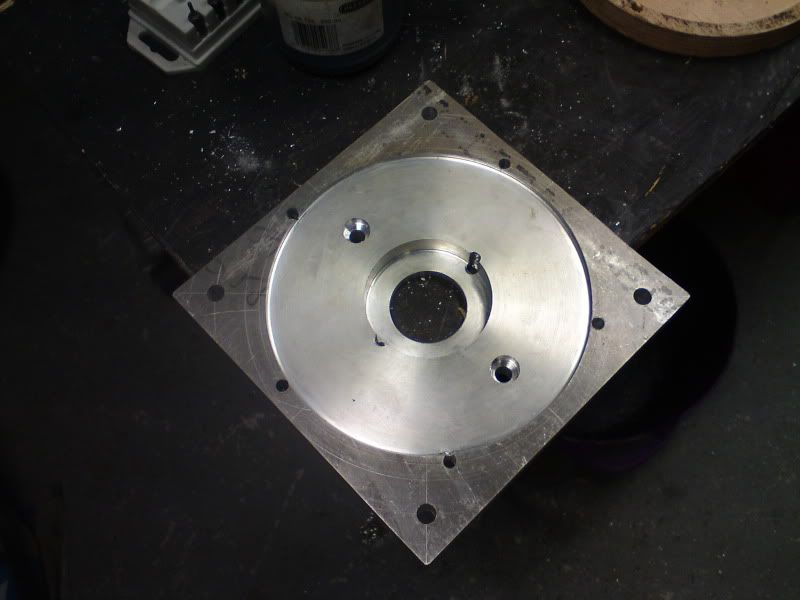
Made one of these to match.
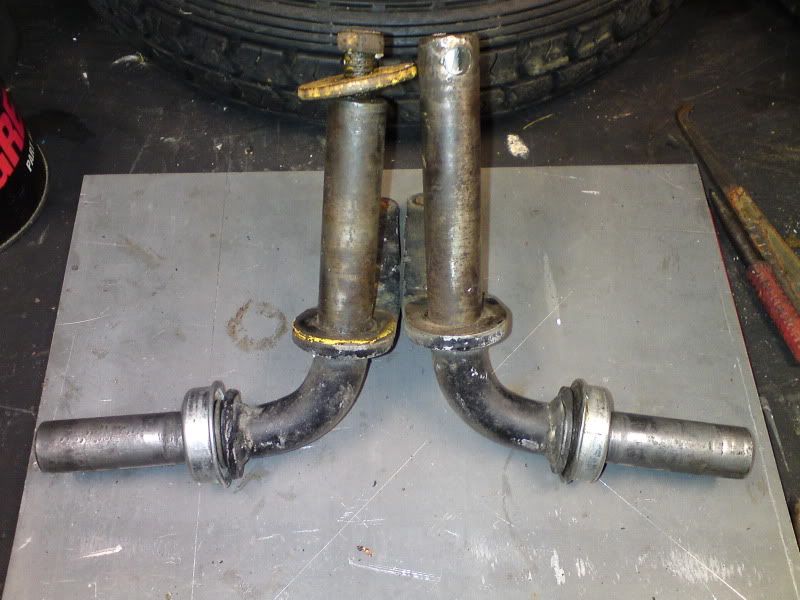
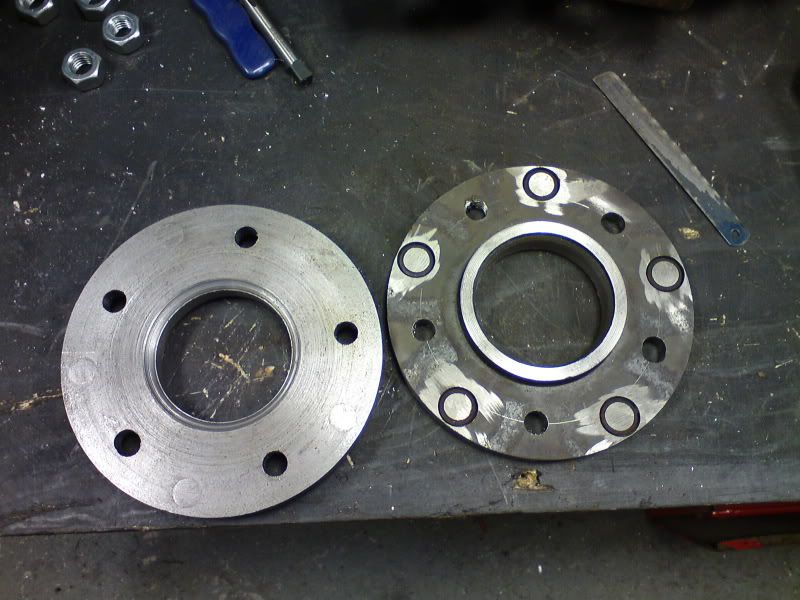
Added one of these.
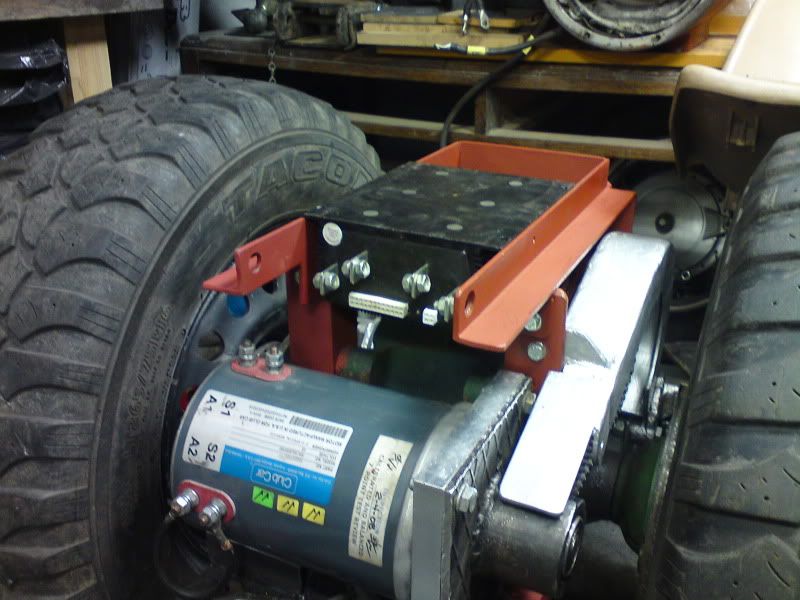
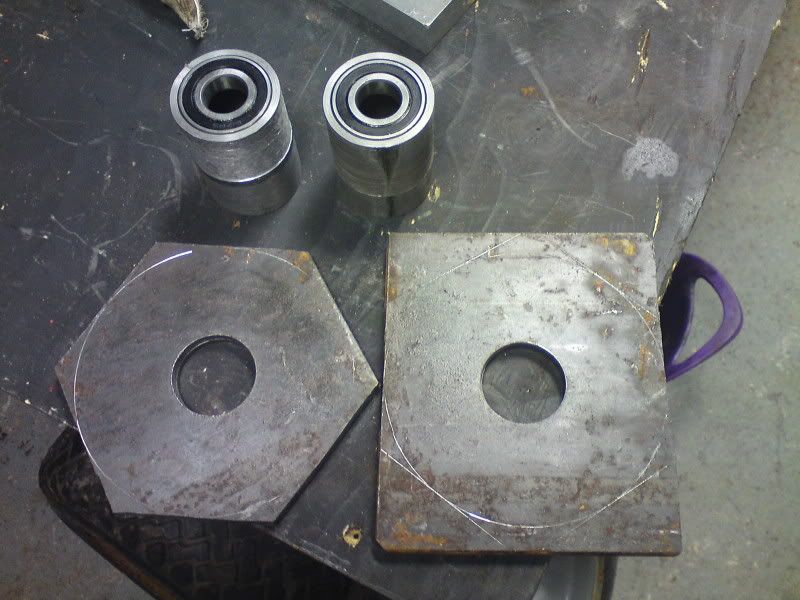
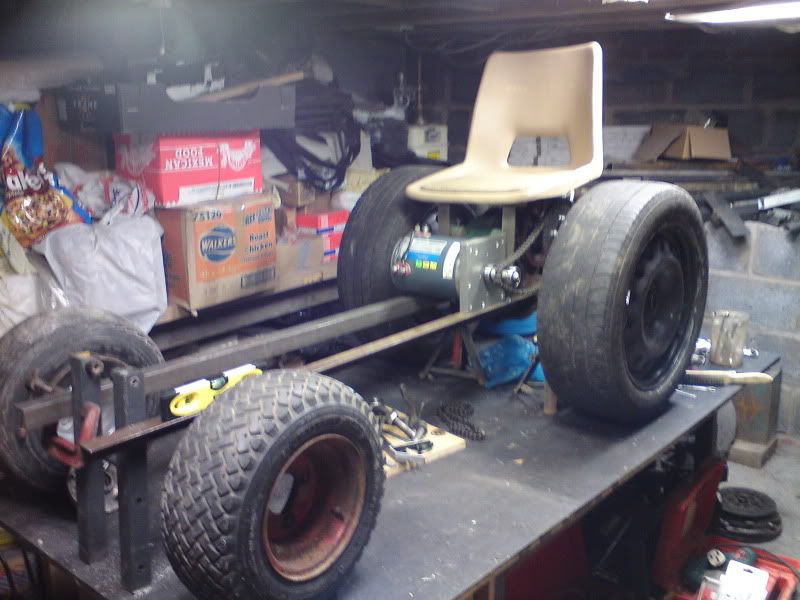
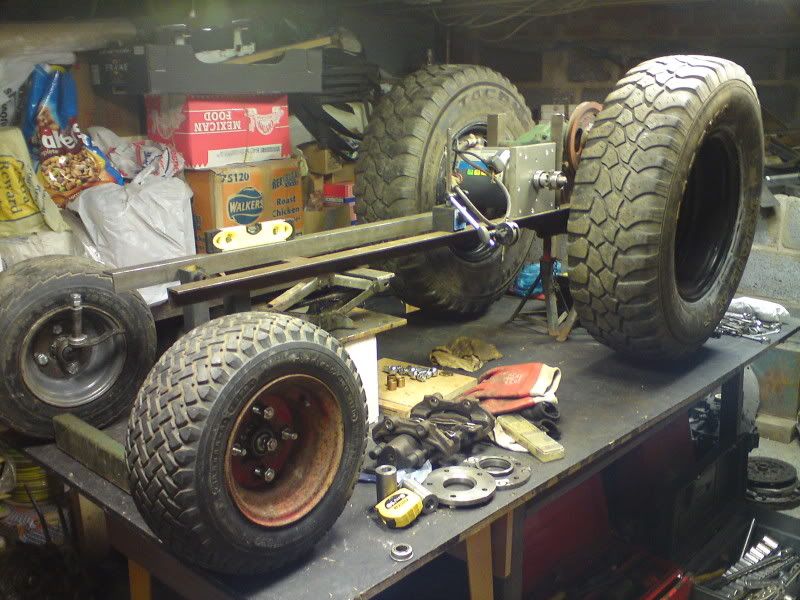
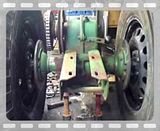
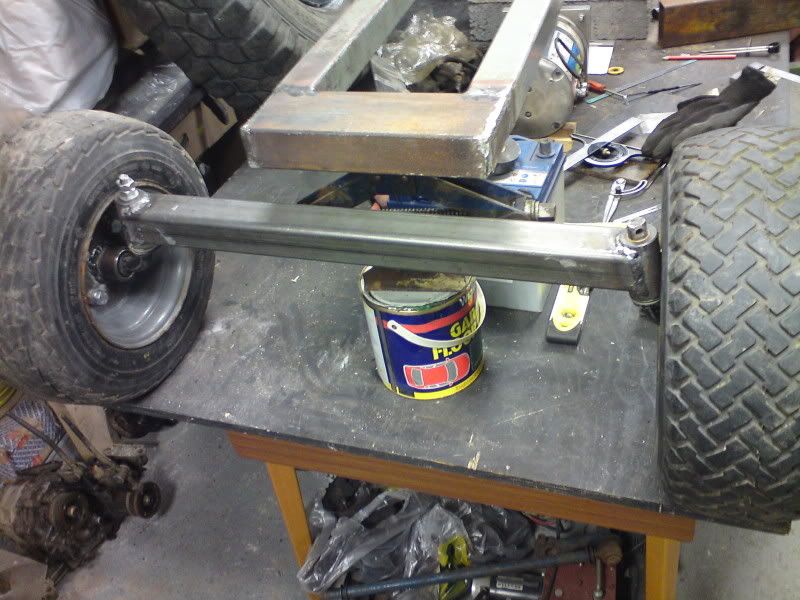
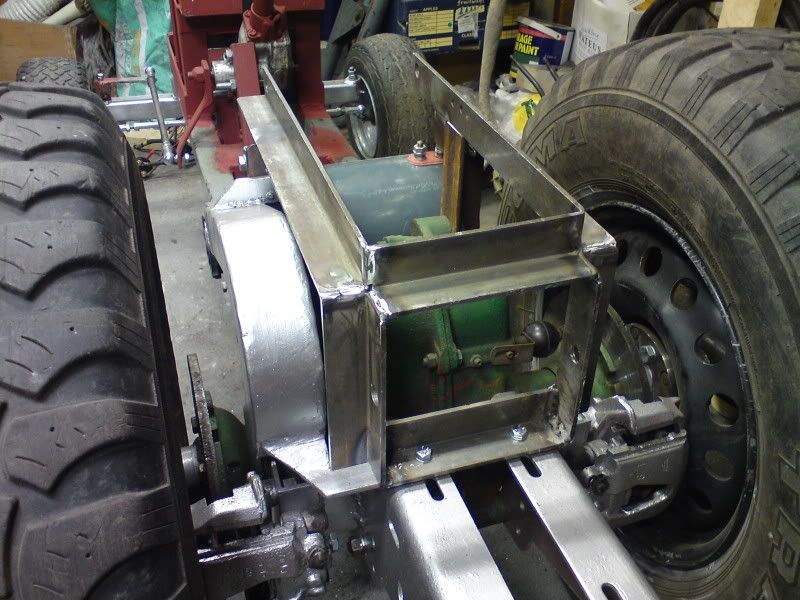
Mock up.
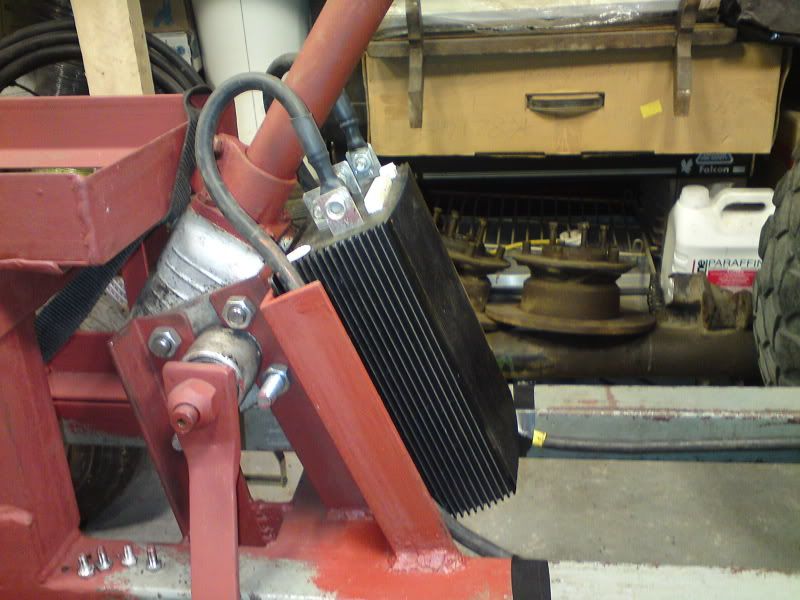
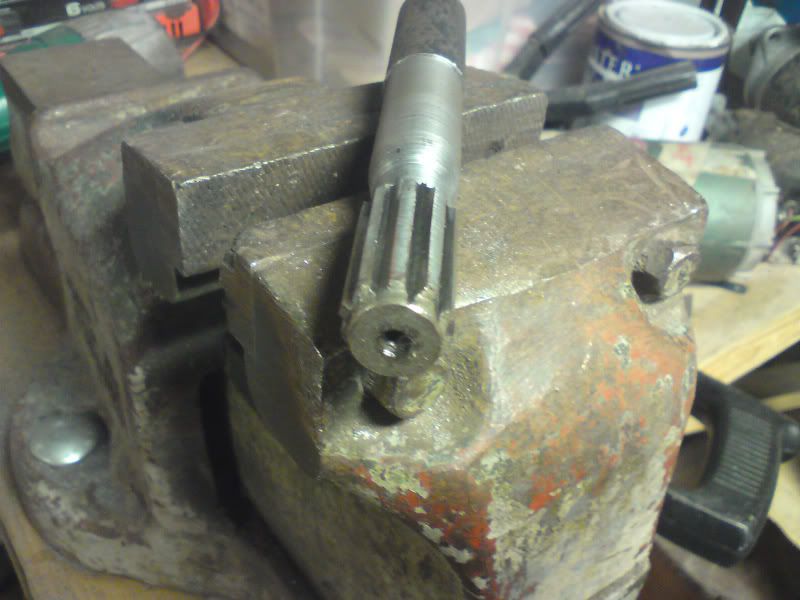
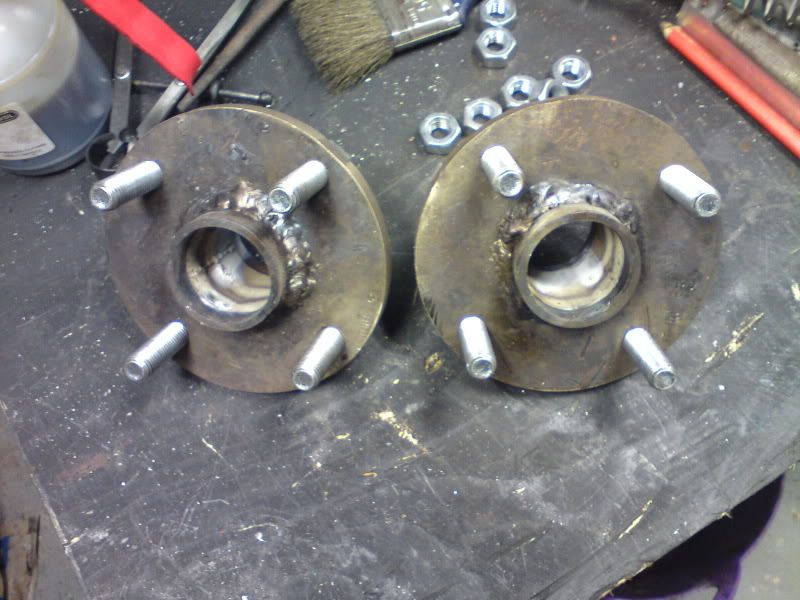
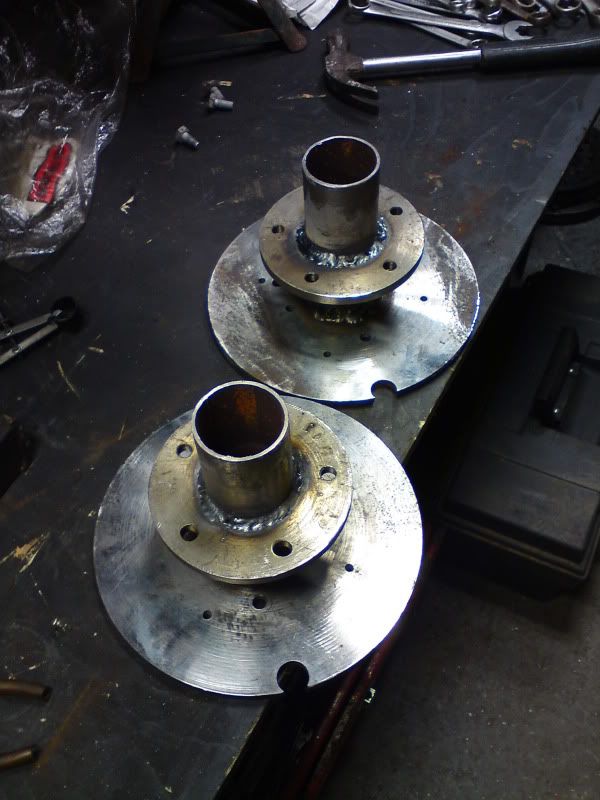
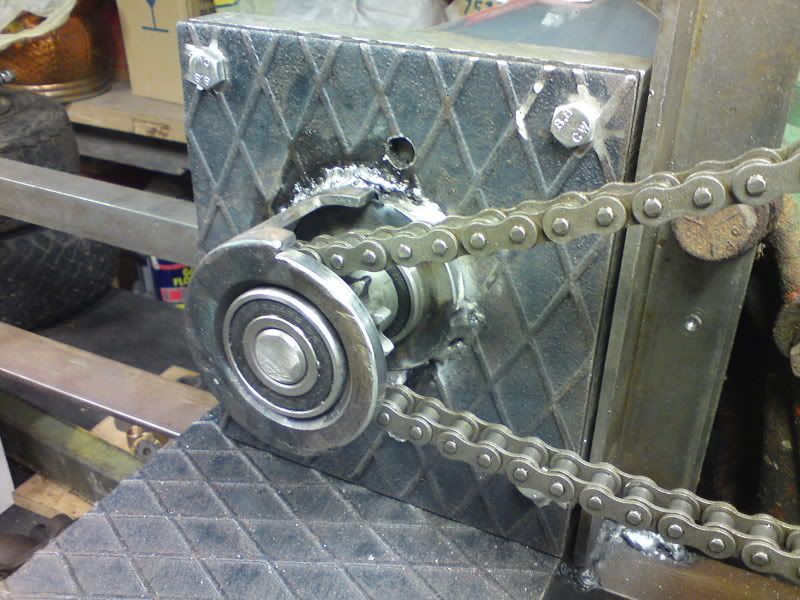
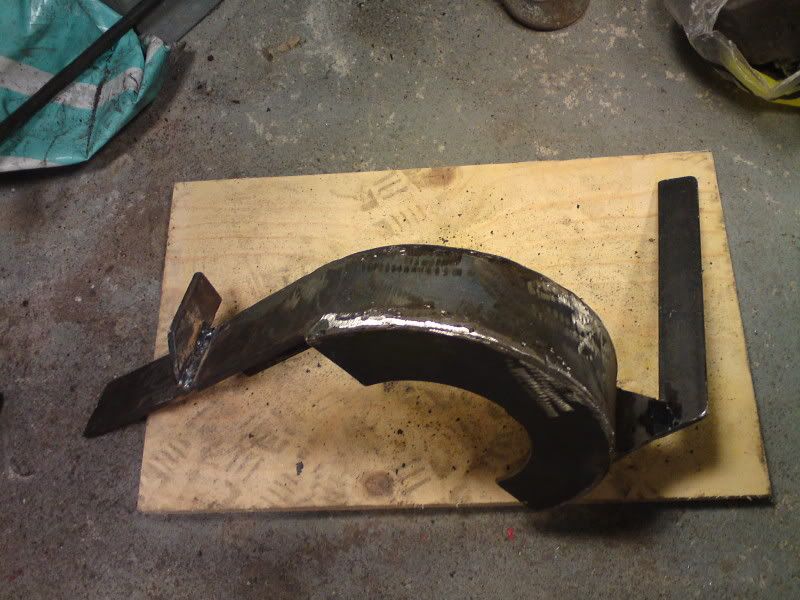
Remade one of these.
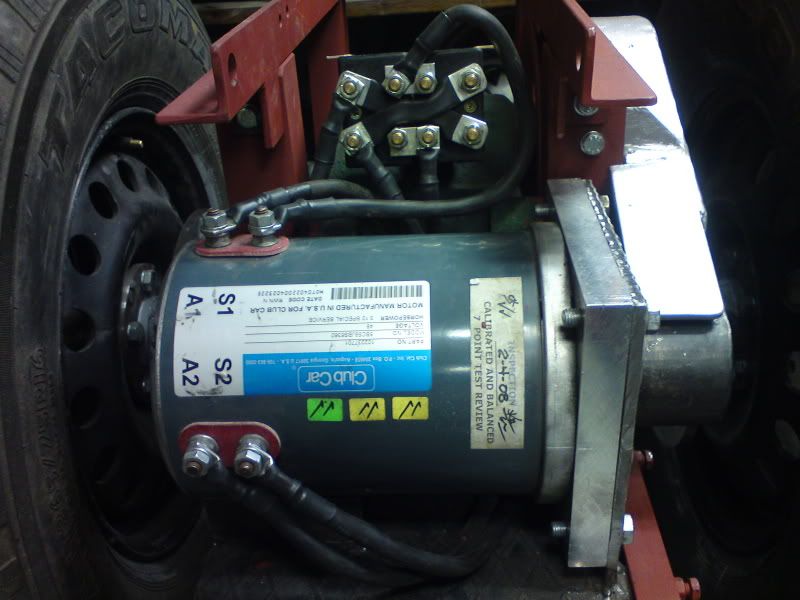
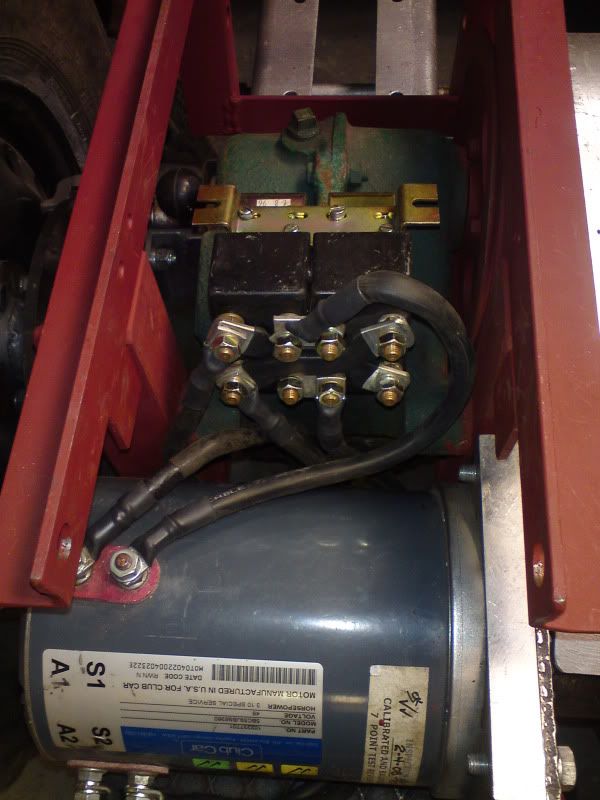
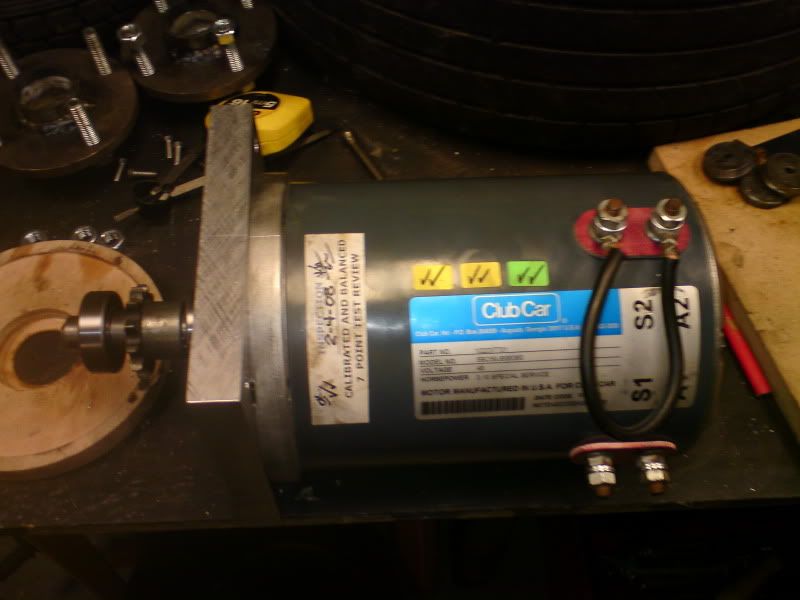
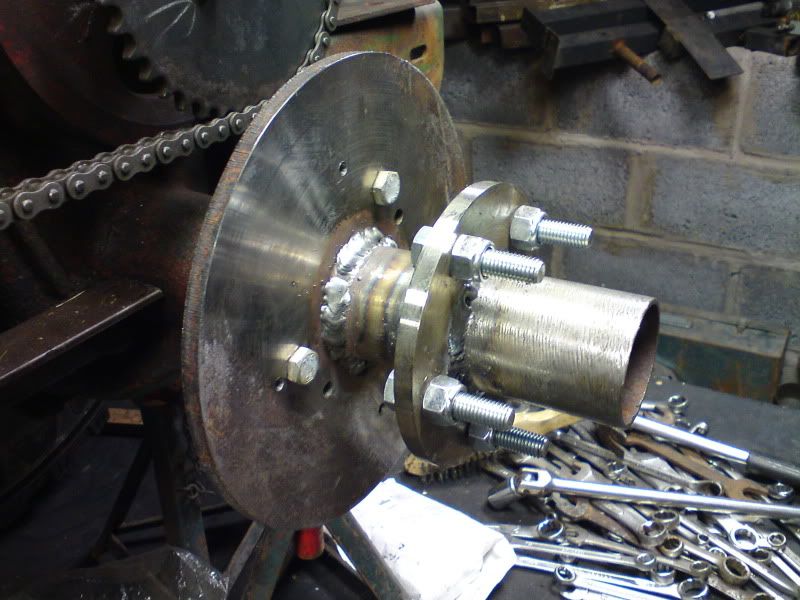
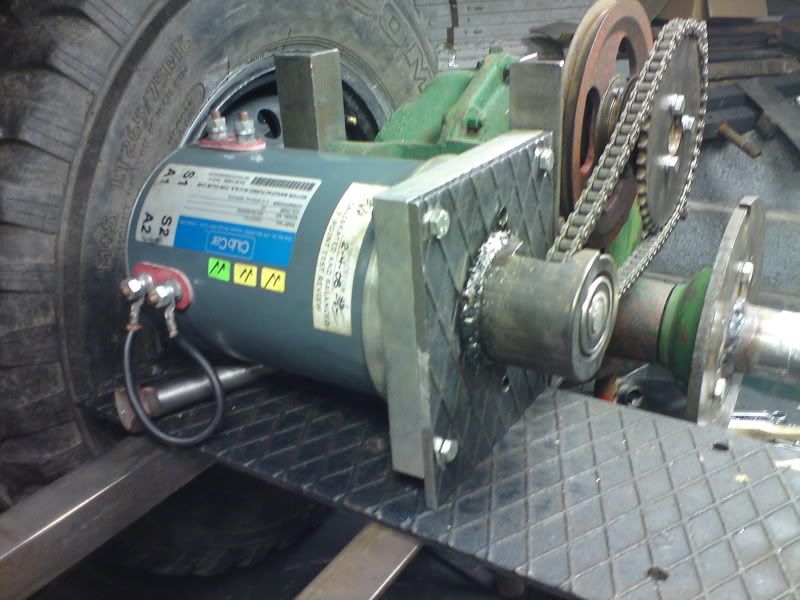
Got these gifted from an EV friend in the States.
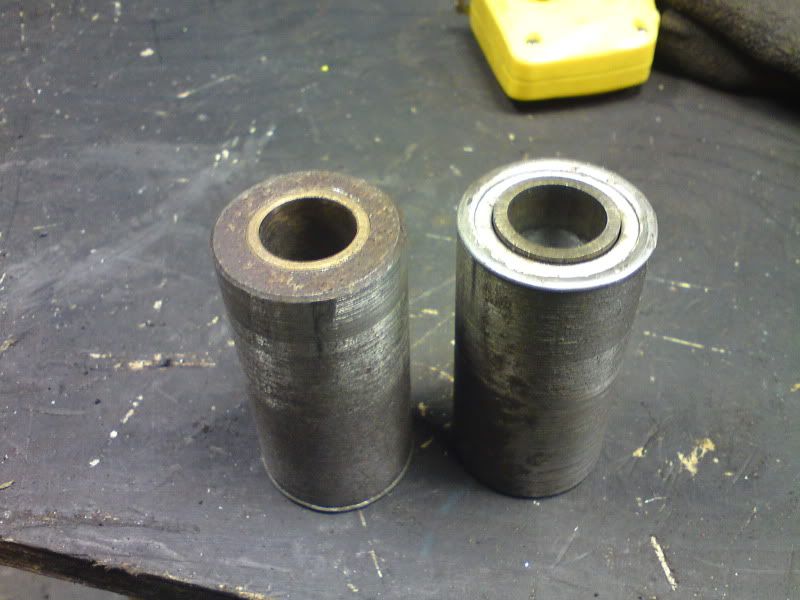
Turned these...
Into these.
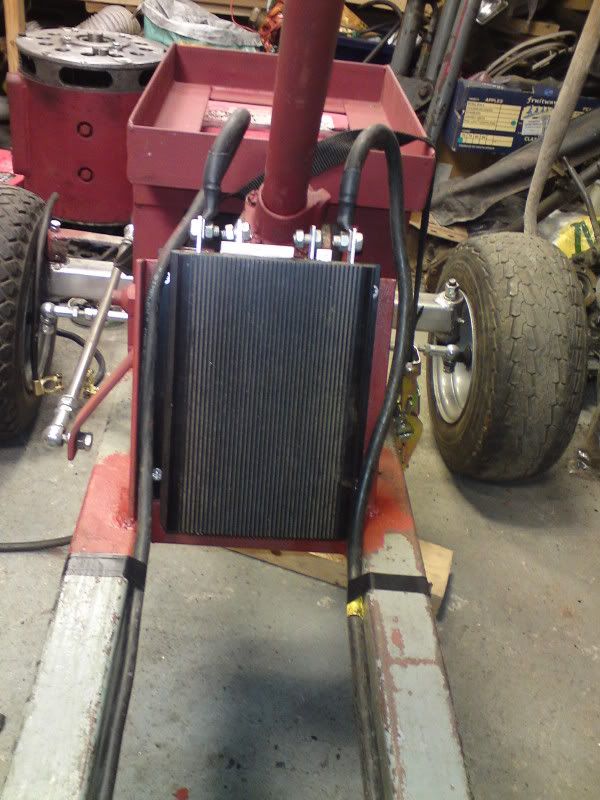
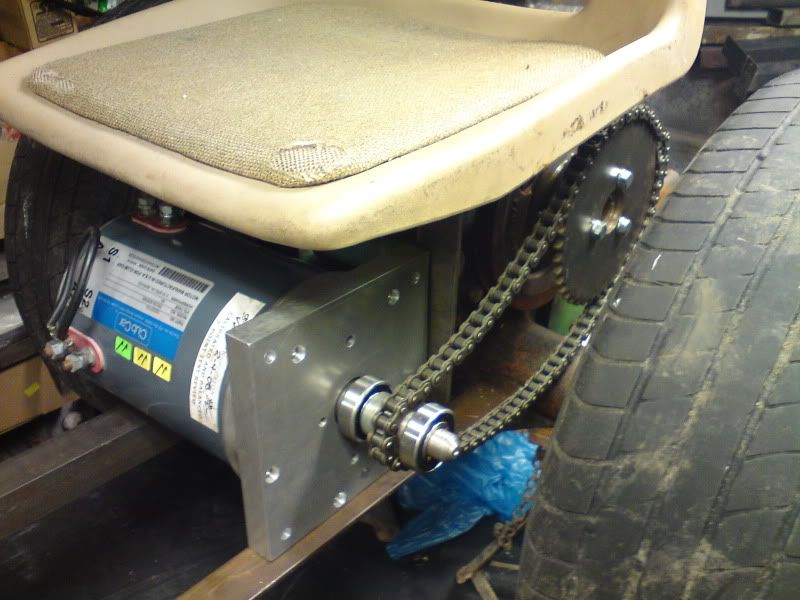
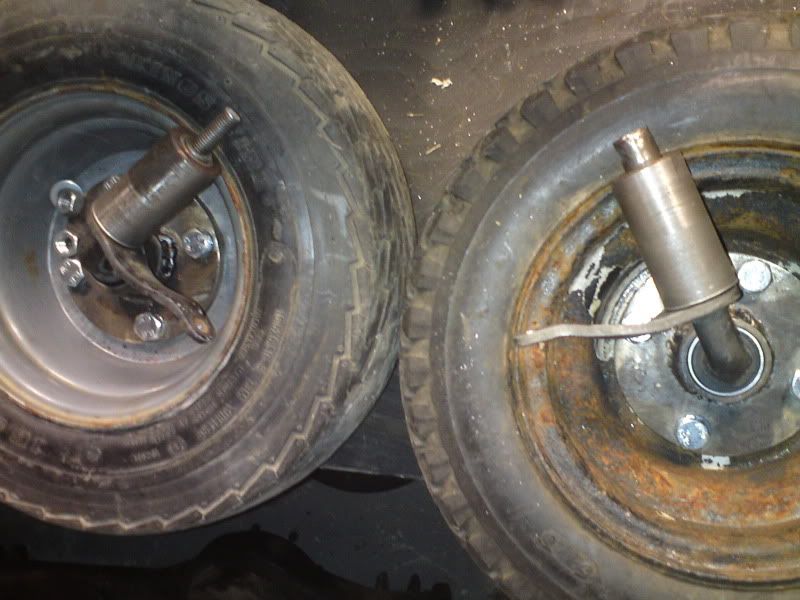
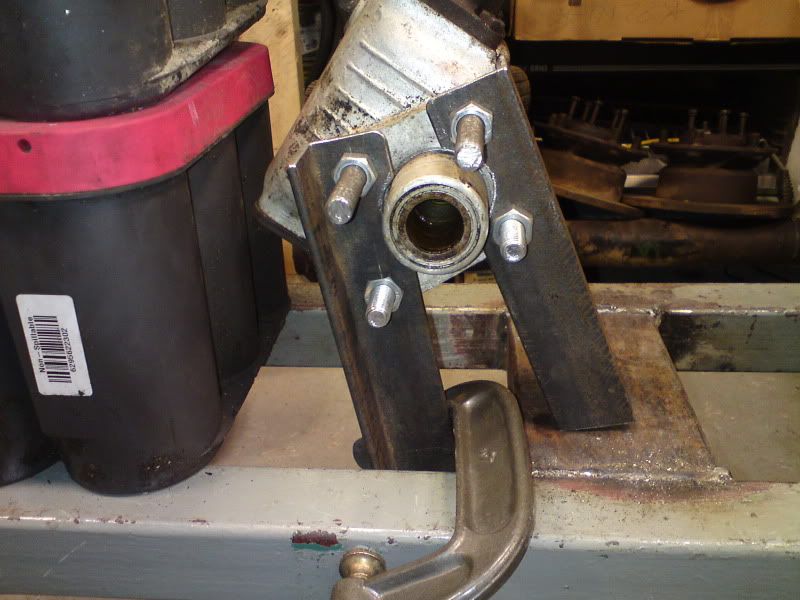
Made one of these
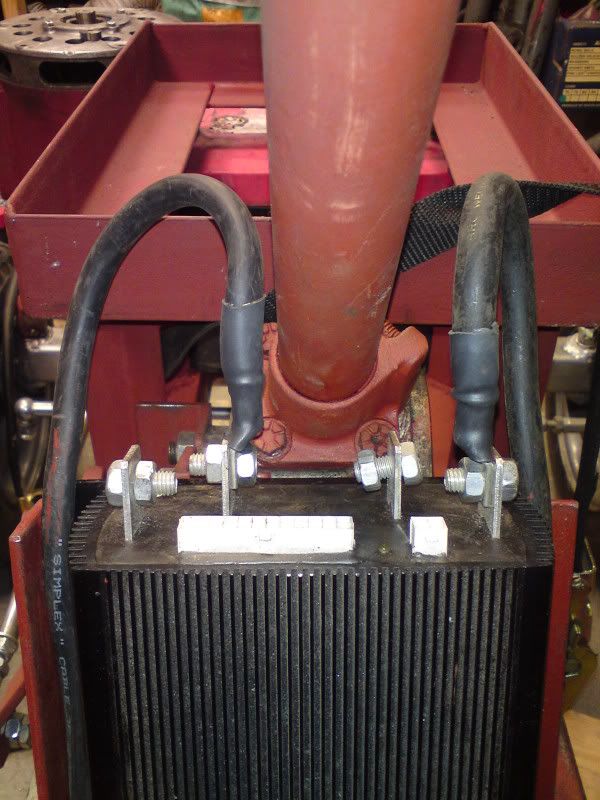
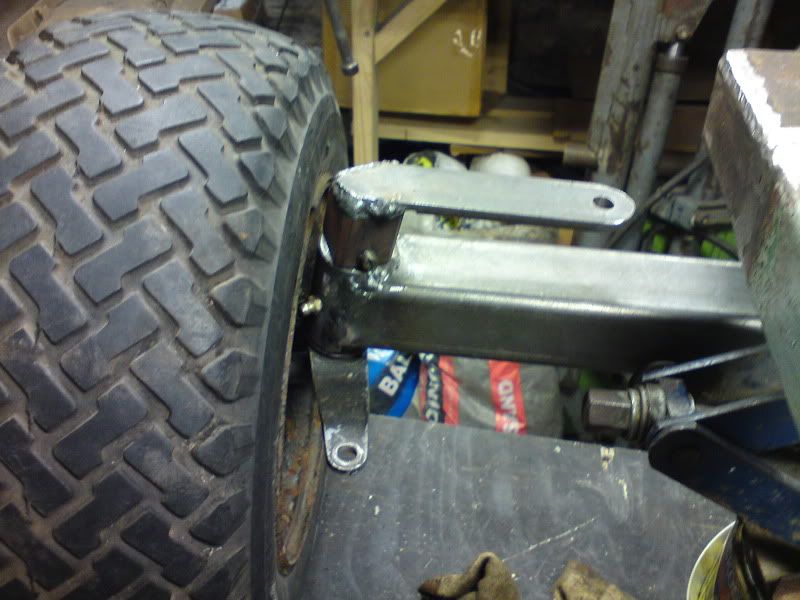
To fit like this.
And like this.
To give this.
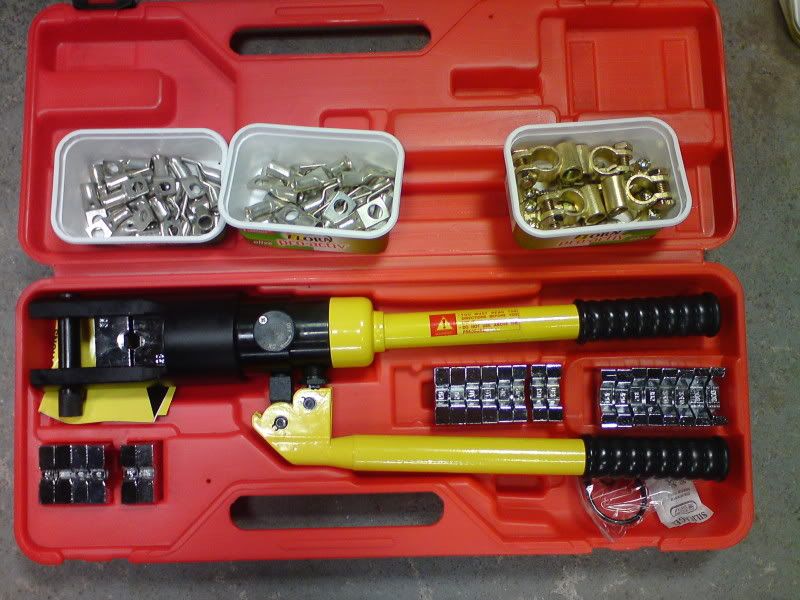
Then found these.

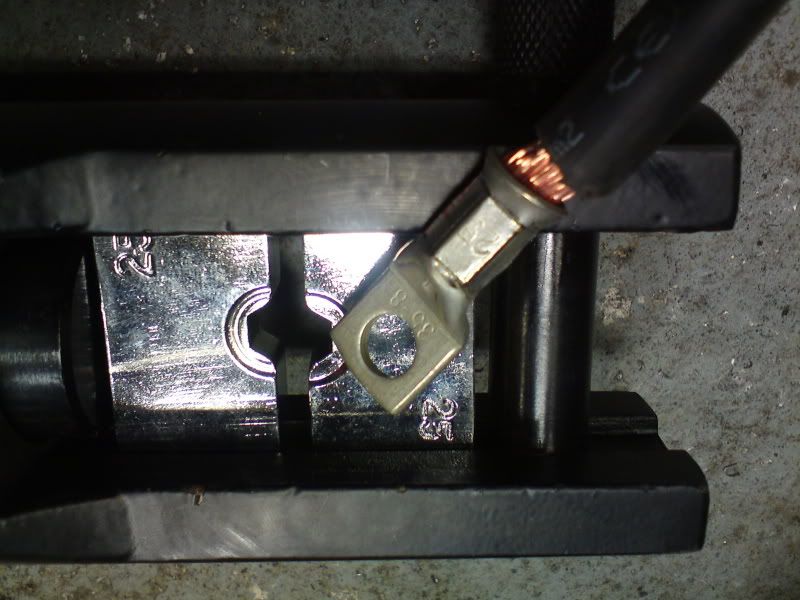
And made these.
And these.
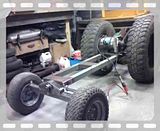
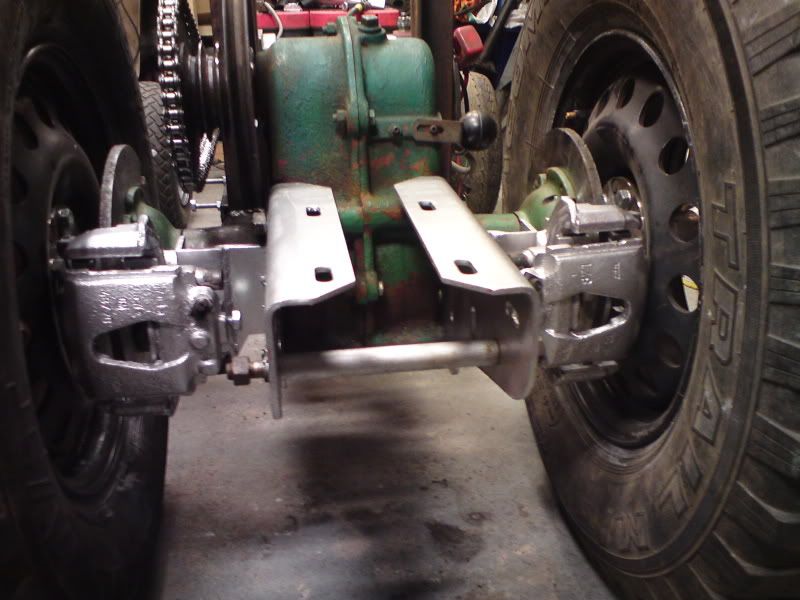
And we have this.
Had to do this.
So that this could happen.
And this.
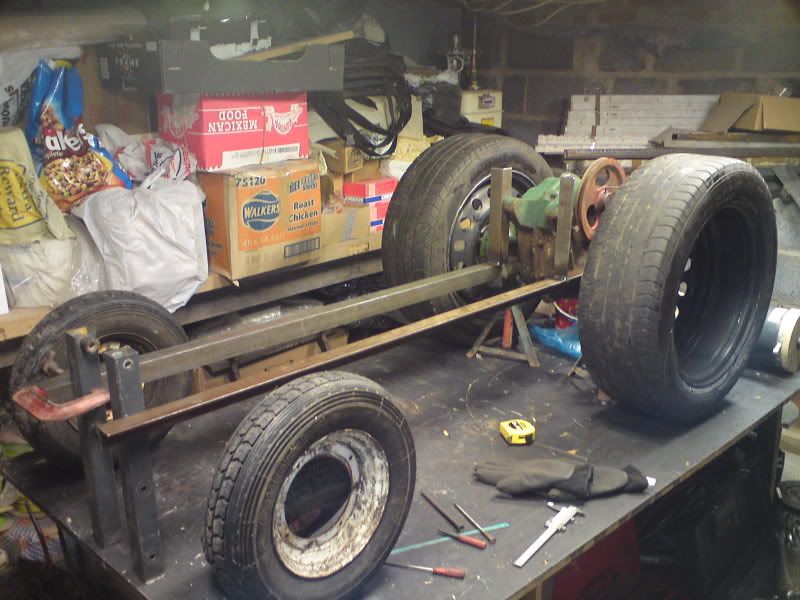
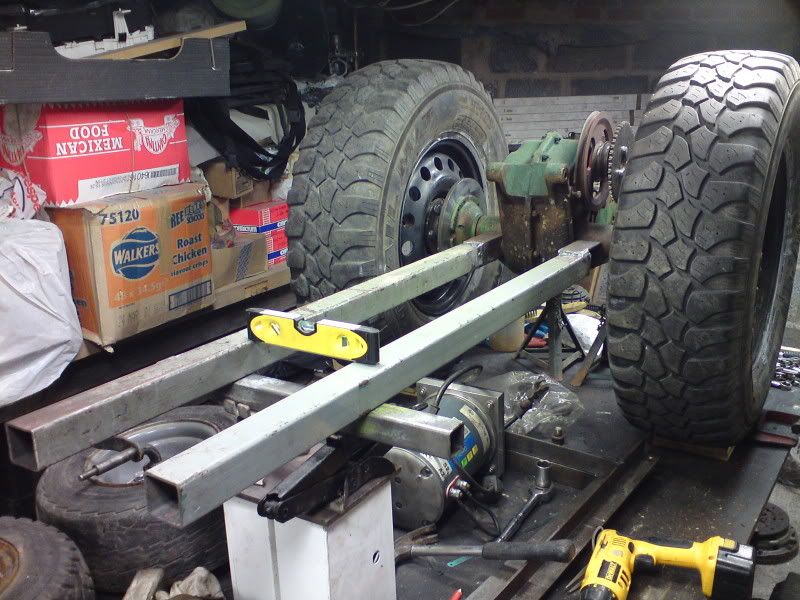
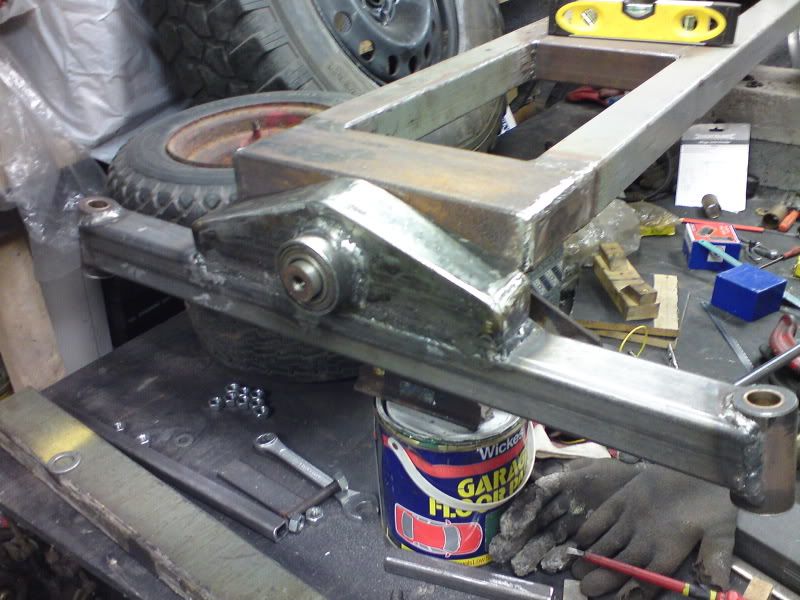
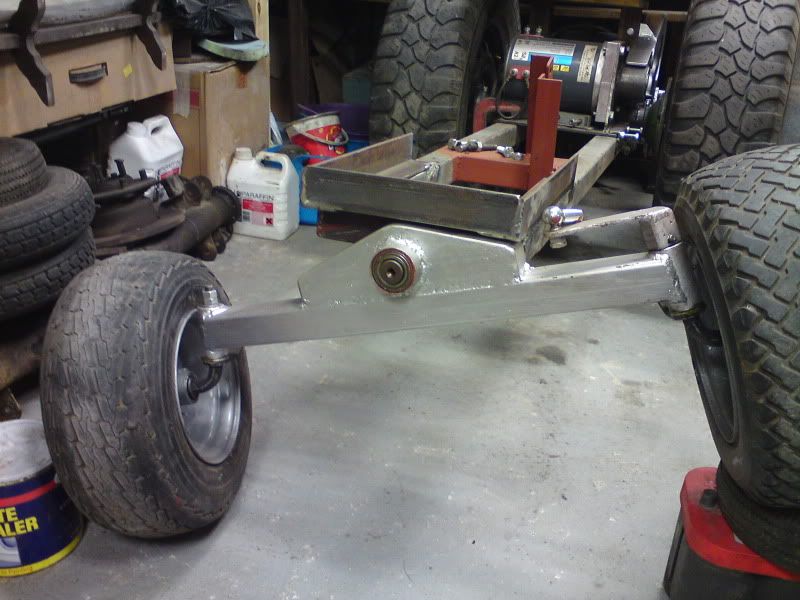
A quick chassis upgrade.
Made these.
To get this.
And then made this.
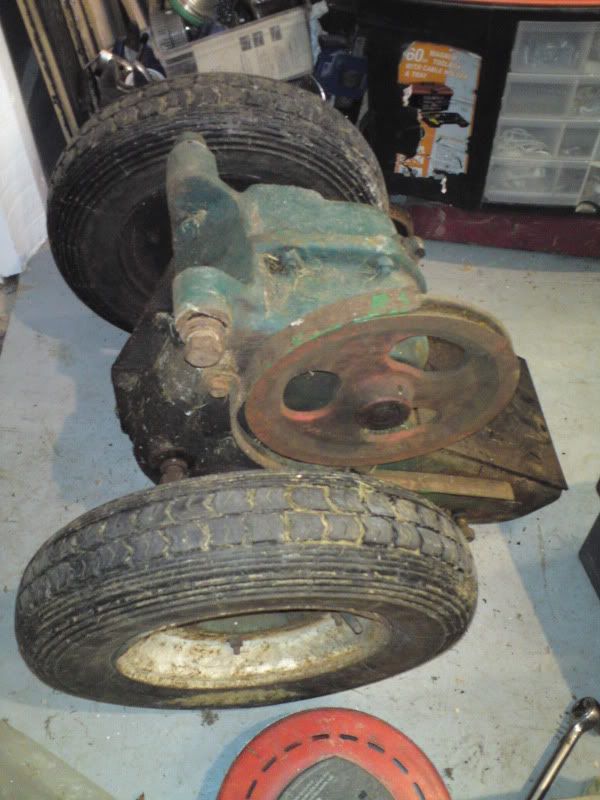
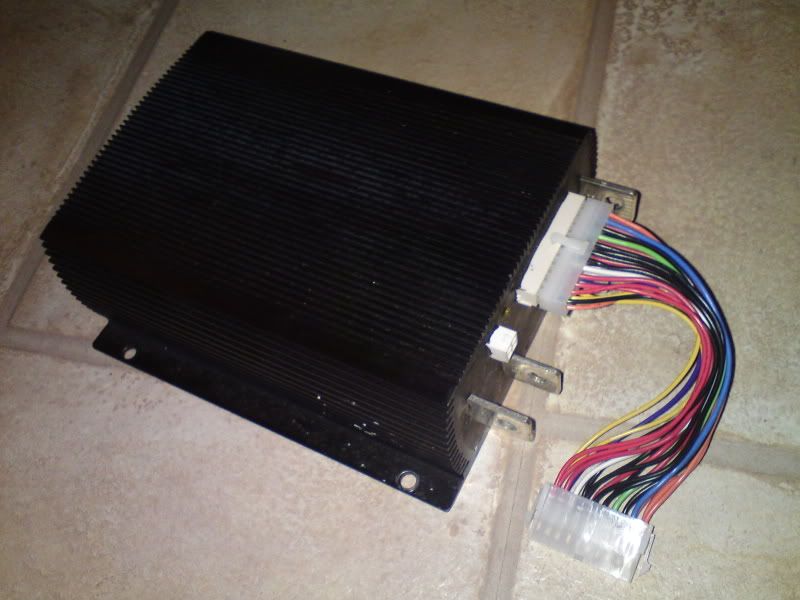
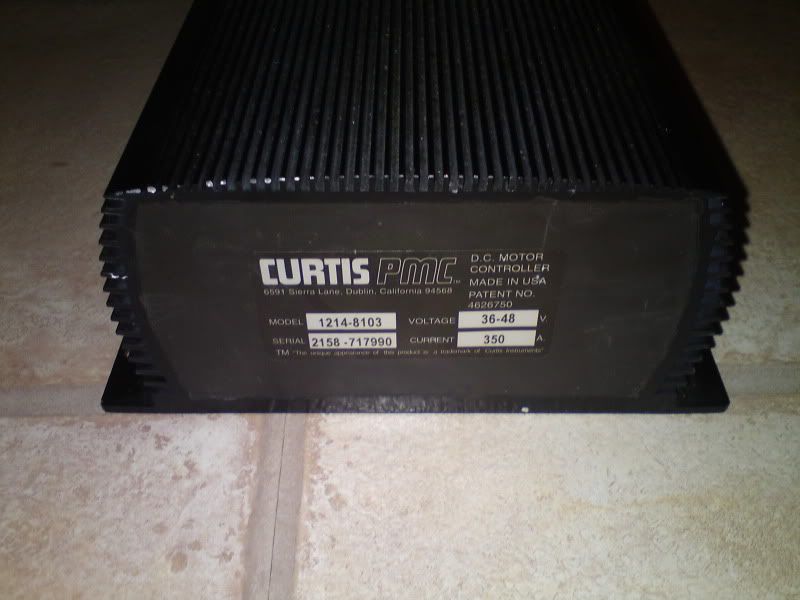
Got one of these.
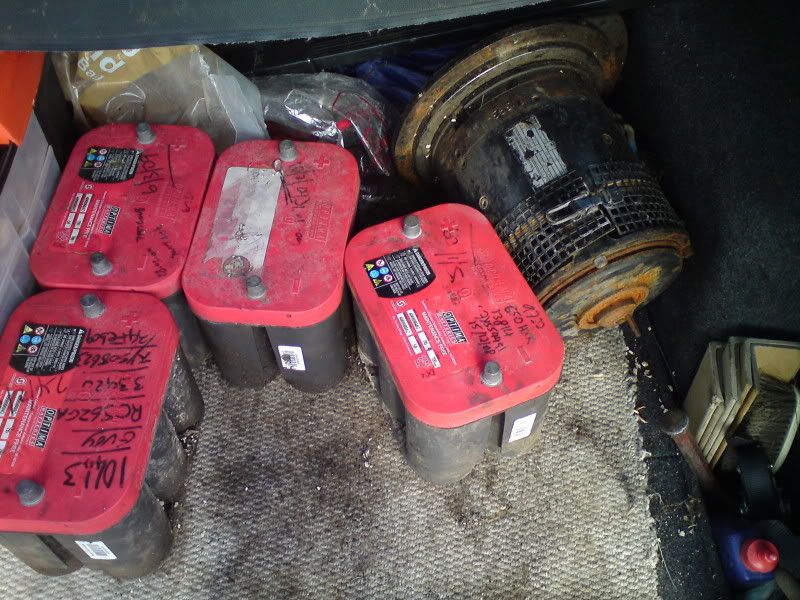
And was gifted four of these.
Made some more of this.
Pulls little wheelies with 12v!
Proper test.
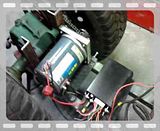
It moves so it needs these.
Made this.
For here.

Then this bit.
Because straight roads are boring.
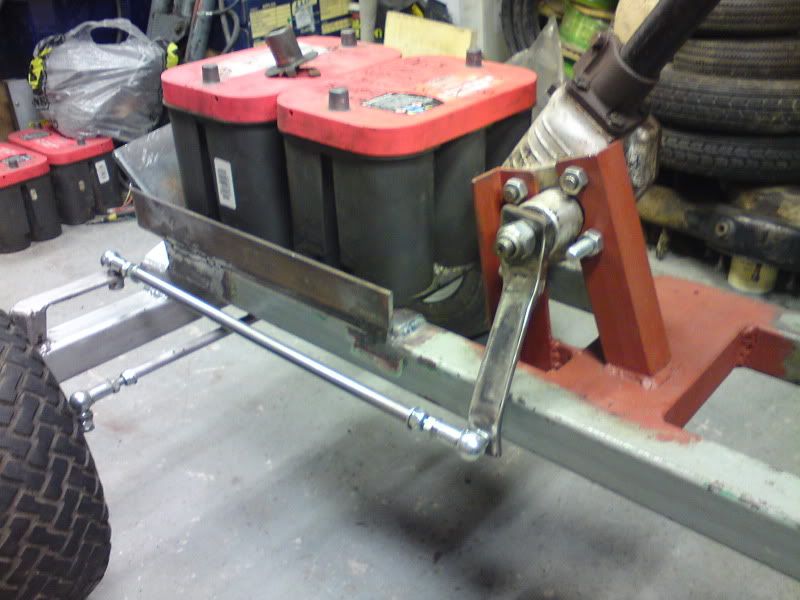
As are flat ones.
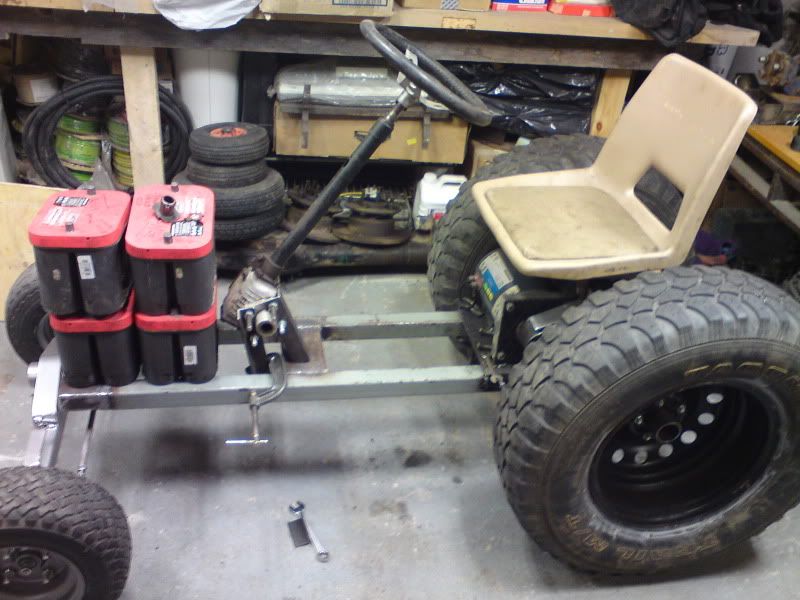
Looks a little like this now.

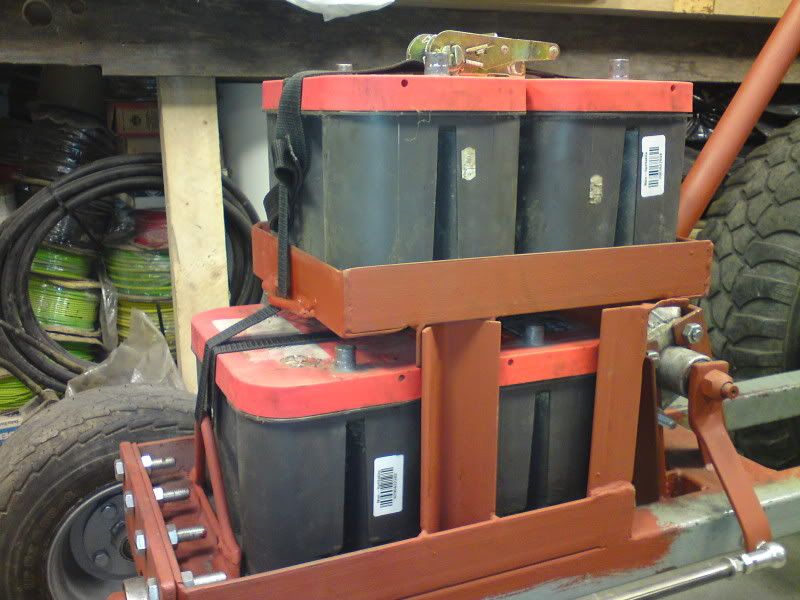
But Optimas live like this.
Can you manage 12"? Nah, but the MR2 can!
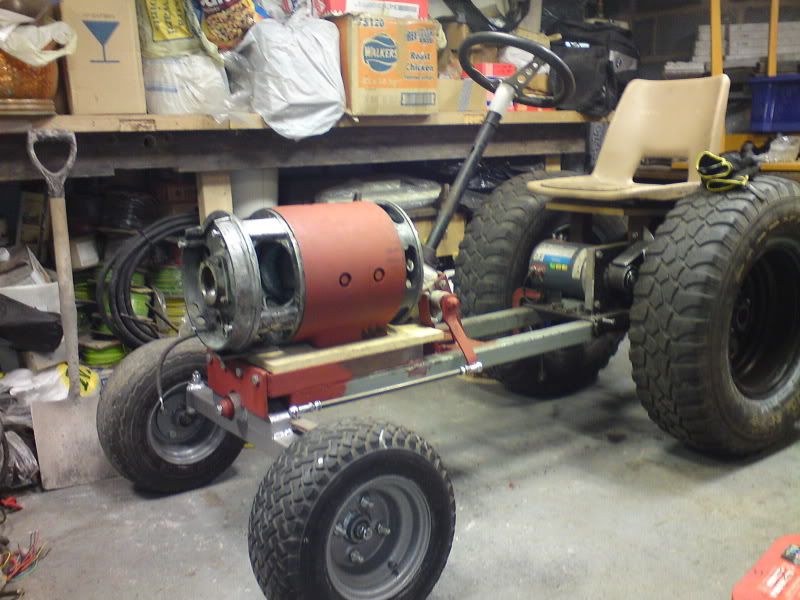
Just added a seat mounting.
This whole project has been made from gifts, dirt cheap Ebay finds and raiding the scrap metal yard on the way to work.
Many thanks to Steve, Simon and Jim for their gifts, support and advice.
To be continued.....
Made one of these to match.
Added one of these.
Mock up.
Remade one of these.
Got these gifted from an EV friend in the States.
Turned these...
Into these.
Made one of these
To fit like this.
And like this.
To give this.
Then found these.
And made these.
And these.
And we have this.
Had to do this.
So that this could happen.
And this.
A quick chassis upgrade.
Made these.
To get this.
And then made this.
Got one of these.
And was gifted four of these.
Made some more of this.
Pulls little wheelies with 12v!
Proper test.
It moves so it needs these.
Made this.
For here.
Then this bit.
Because straight roads are boring.
As are flat ones.
Looks a little like this now.
But Optimas live like this.
Can you manage 12"? Nah, but the MR2 can!
Just added a seat mounting.
This whole project has been made from gifts, dirt cheap Ebay finds and raiding the scrap metal yard on the way to work.
Many thanks to Steve, Simon and Jim for their gifts, support and advice.
To be continued.....